Adding measures
In the next step you will add the different measures.
Adding measures
Measures are interventions that you take to achieve a different land use. The Nature Value Explorer works with 60 different land uses.
If you carry out an intervention where the management is adjusted, e.g. rewetting, but where the land use category does not change in the long term, e.g. a species-rich grassland remains a species-rich grassland, you can choose management measure (no land use change). Then adjust the parameters that do change, for example groundwater levels (see later).
If you carry out an intervention where the management is adjusted, e.g. rewetting, but where the land use category also changes in the long term, e.g. a grassland eventually changes into a peat area by rewetting the area. Then you choose the measure "other wetland vegetation" but you must also adjust the groundwater levels (see later).
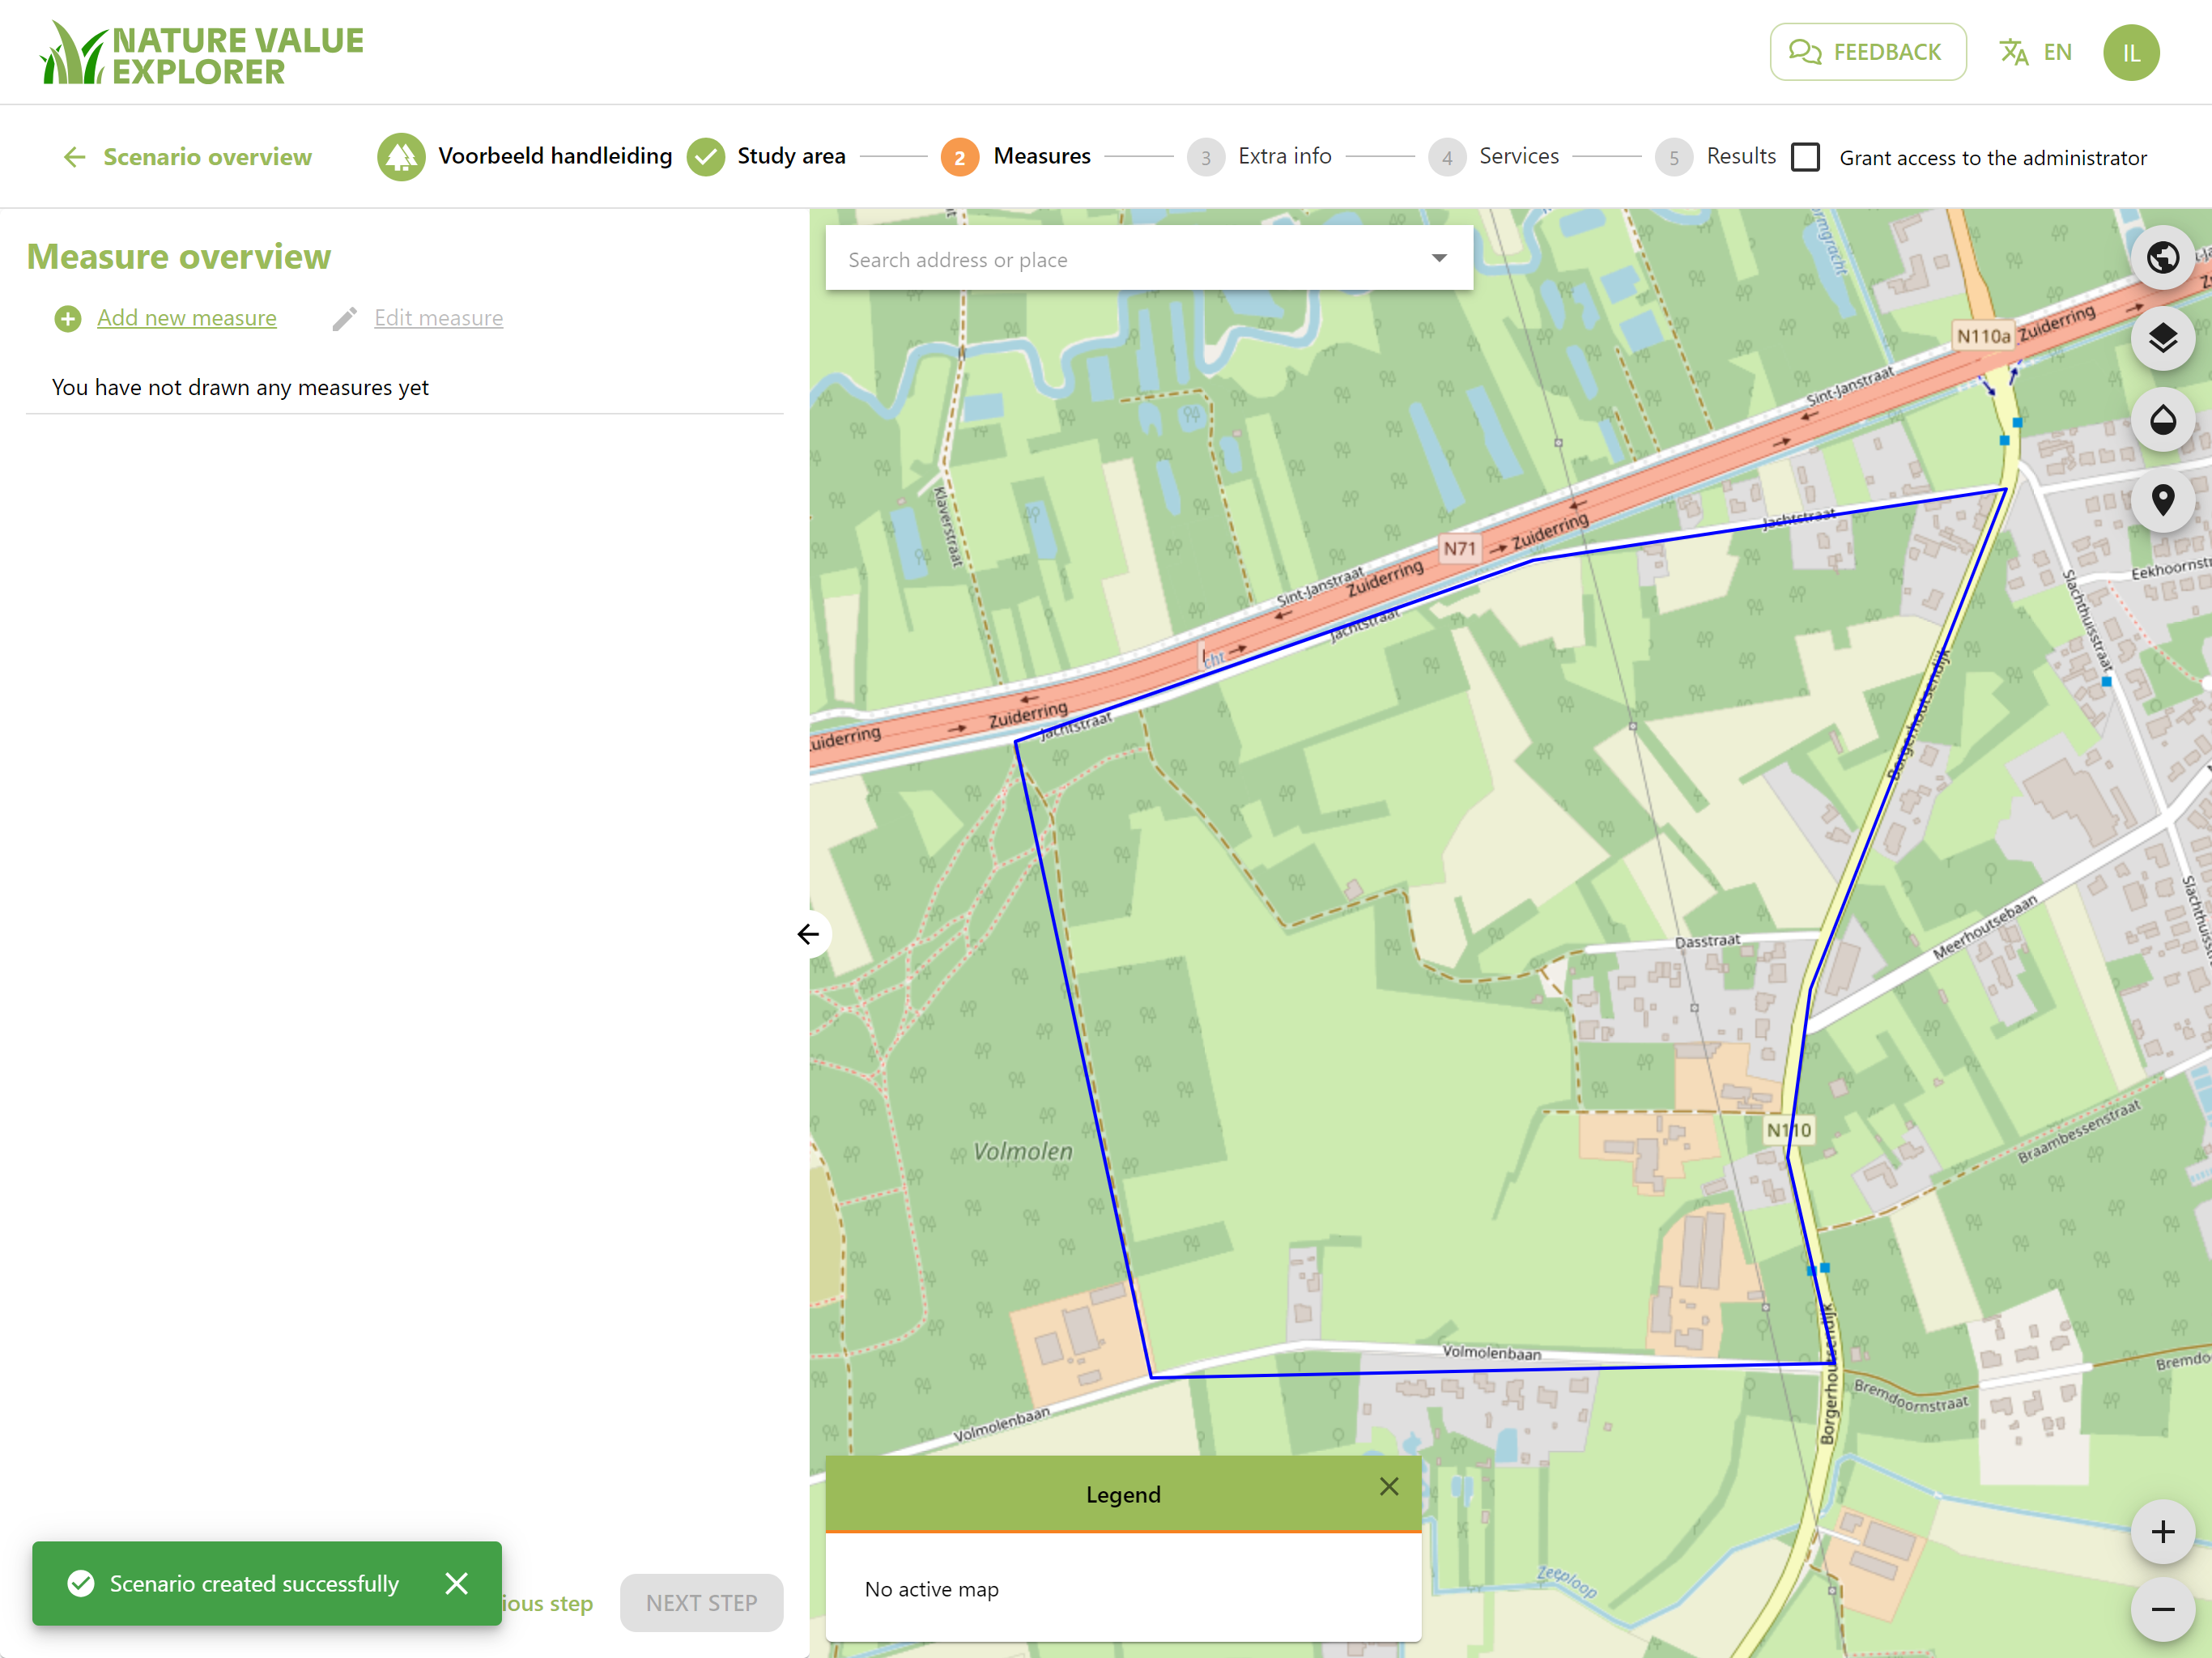
To add measures, click on Add new measure.
You again have two options:
- You have shapefiles available of the location of the measures
- You draw your measures
Uploading measures
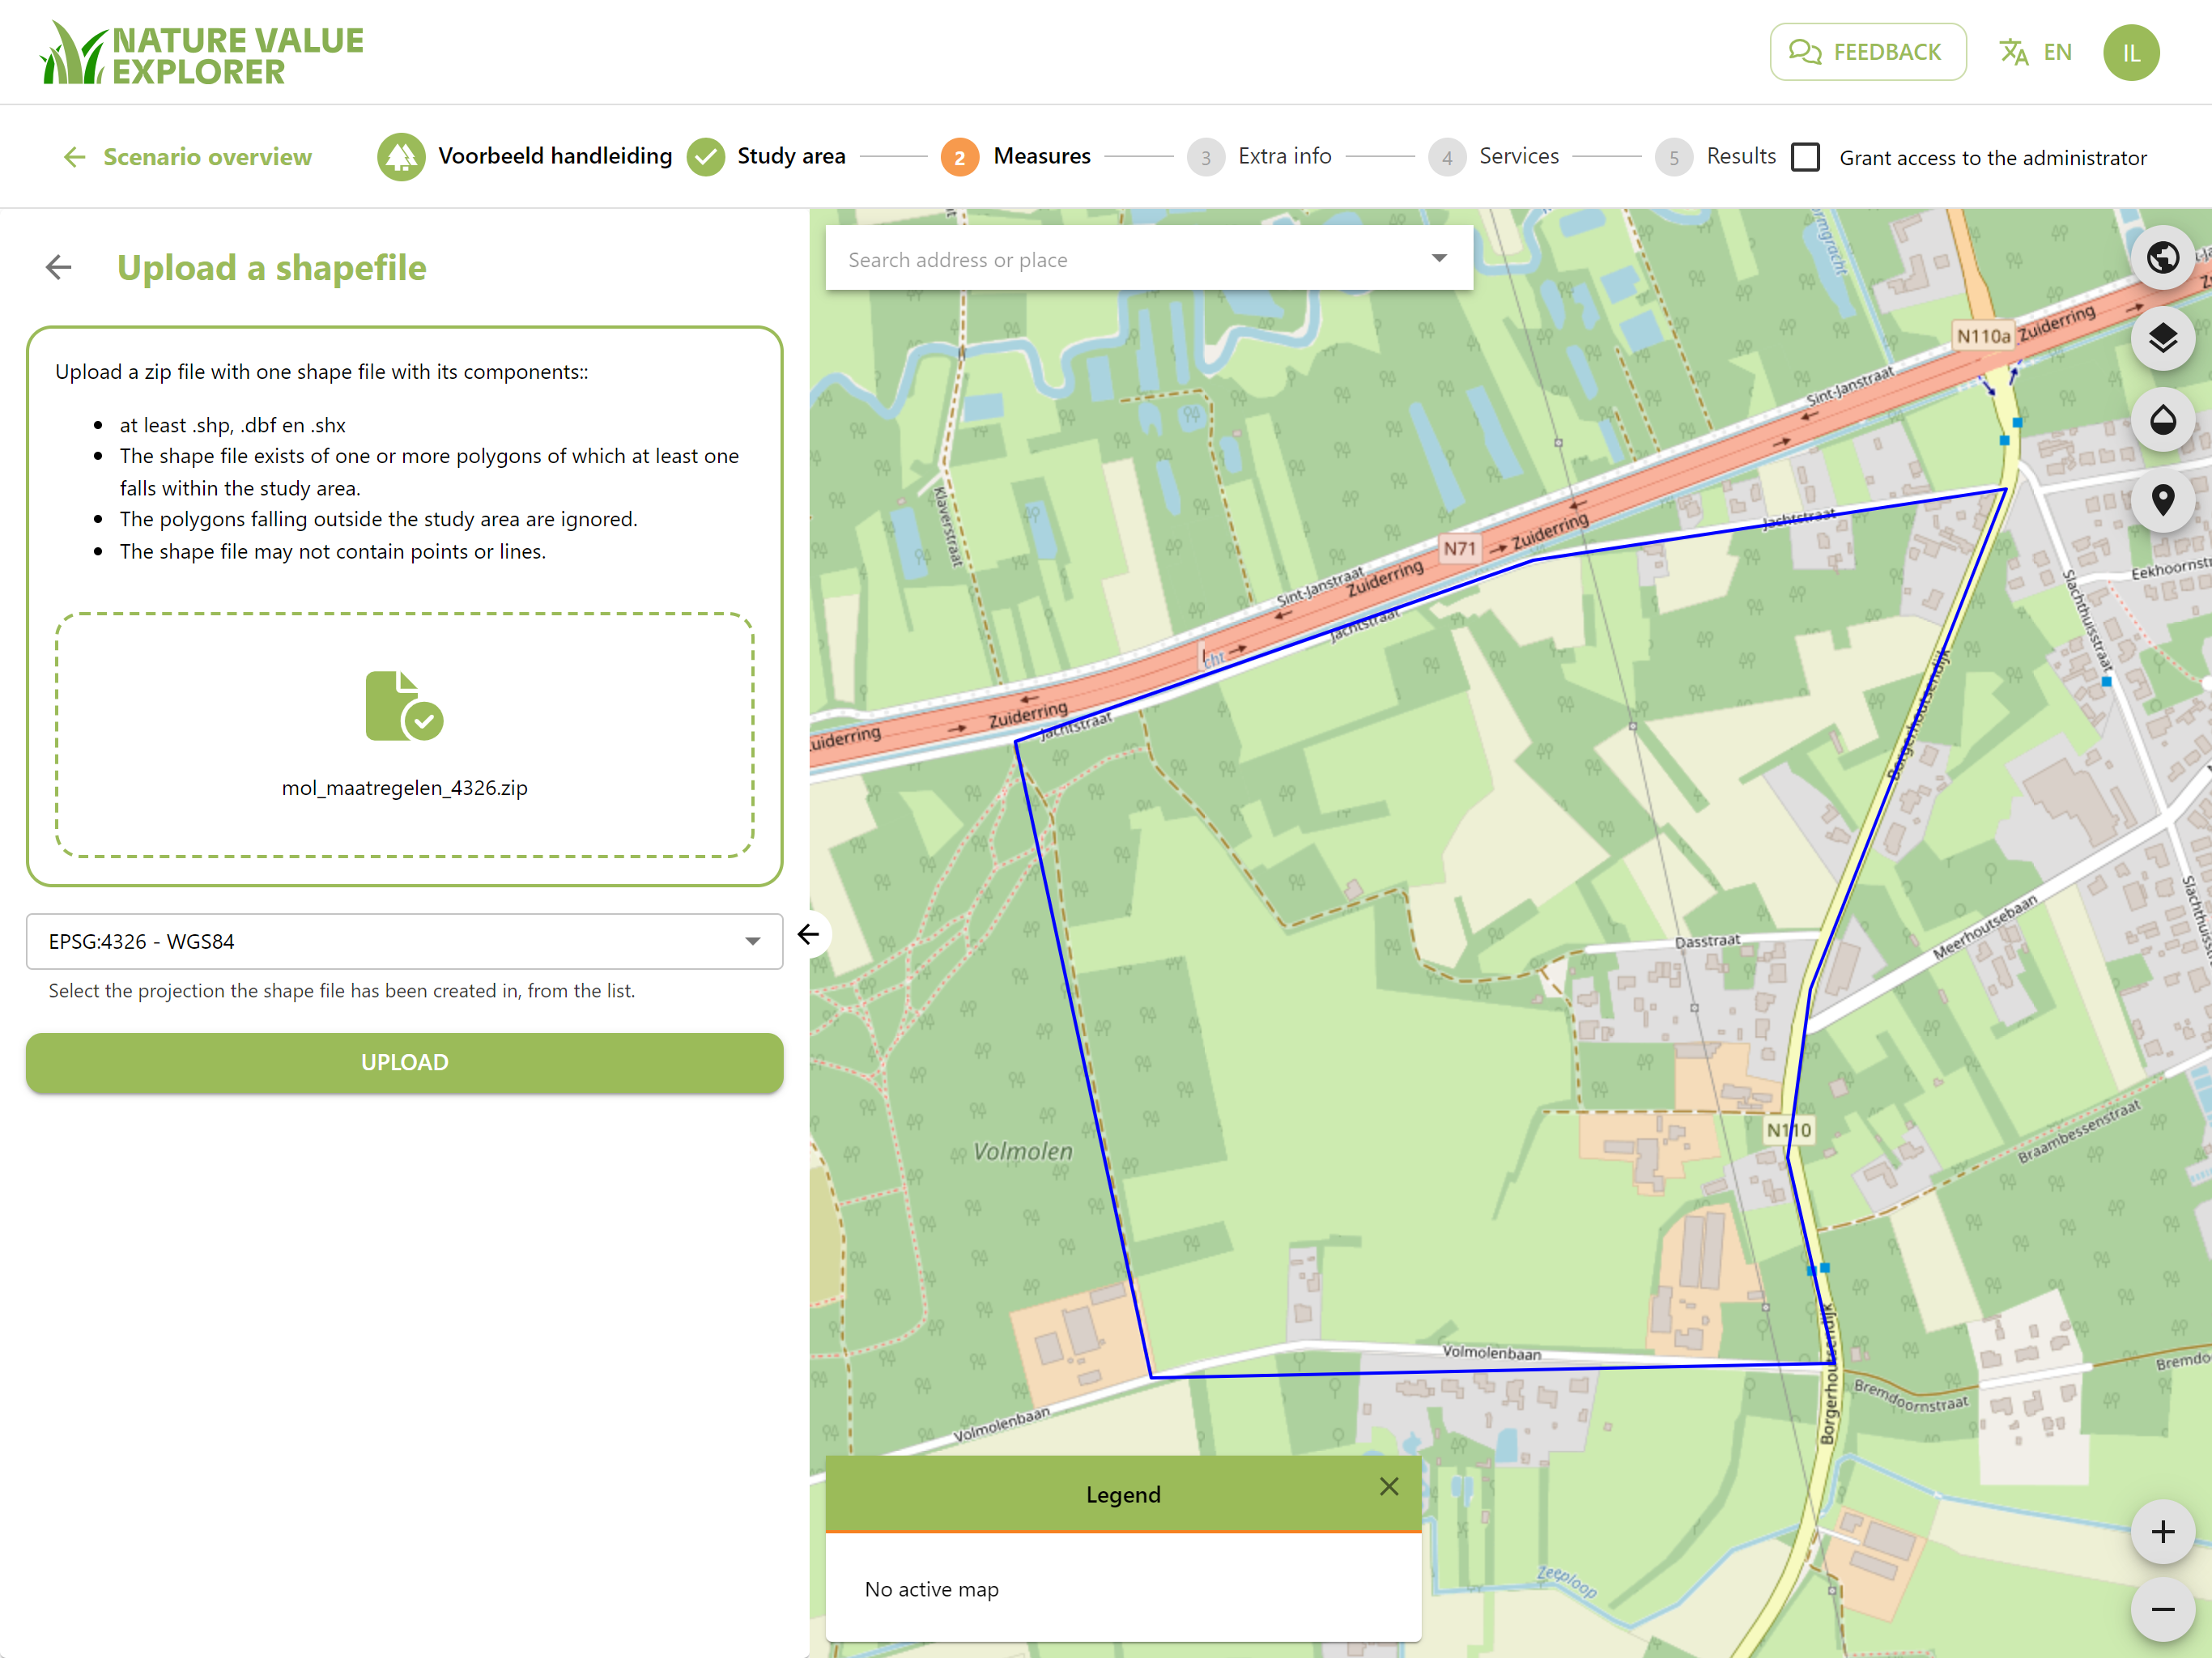
You click on "Upload shape file"
The file you choose to upload must meet the following conditions:
- Upload a zip file with 1 shape file and associated components (at least .shp, .dbf and .shx)
- The shape file consists of one or more polygons, of which at least 1 falls within the study area.
- The polygons that fall outside the study area are removed.
- The shape file must not contain any points or lines.
After uploading the zip file, indicate in which geographic project system your shapefile is located and click "Upload".
To carry out the calculations, the Nature Value Explorer has defined its own land use types. In this screen you can link your measures to a land use type from the Nature Value Explorer.
Each shapefile has an attribute table consisting of several columns. Each column contains an attribute that contains a piece of information about the object (polygon) in the map. The tool will list all attributes contained in the uploaded shapefile. Choose an attribute that provides information about the land use/habitat within the uploaded shape file.
For each unique value from your shape file, choose a land use type from the Nature Value Explorer. If there is a mix of multiple land uses within a polygon, it is best to choose the most common one. You can manually adjust the land use later by clicking on the icon next to the polygon name (see later).
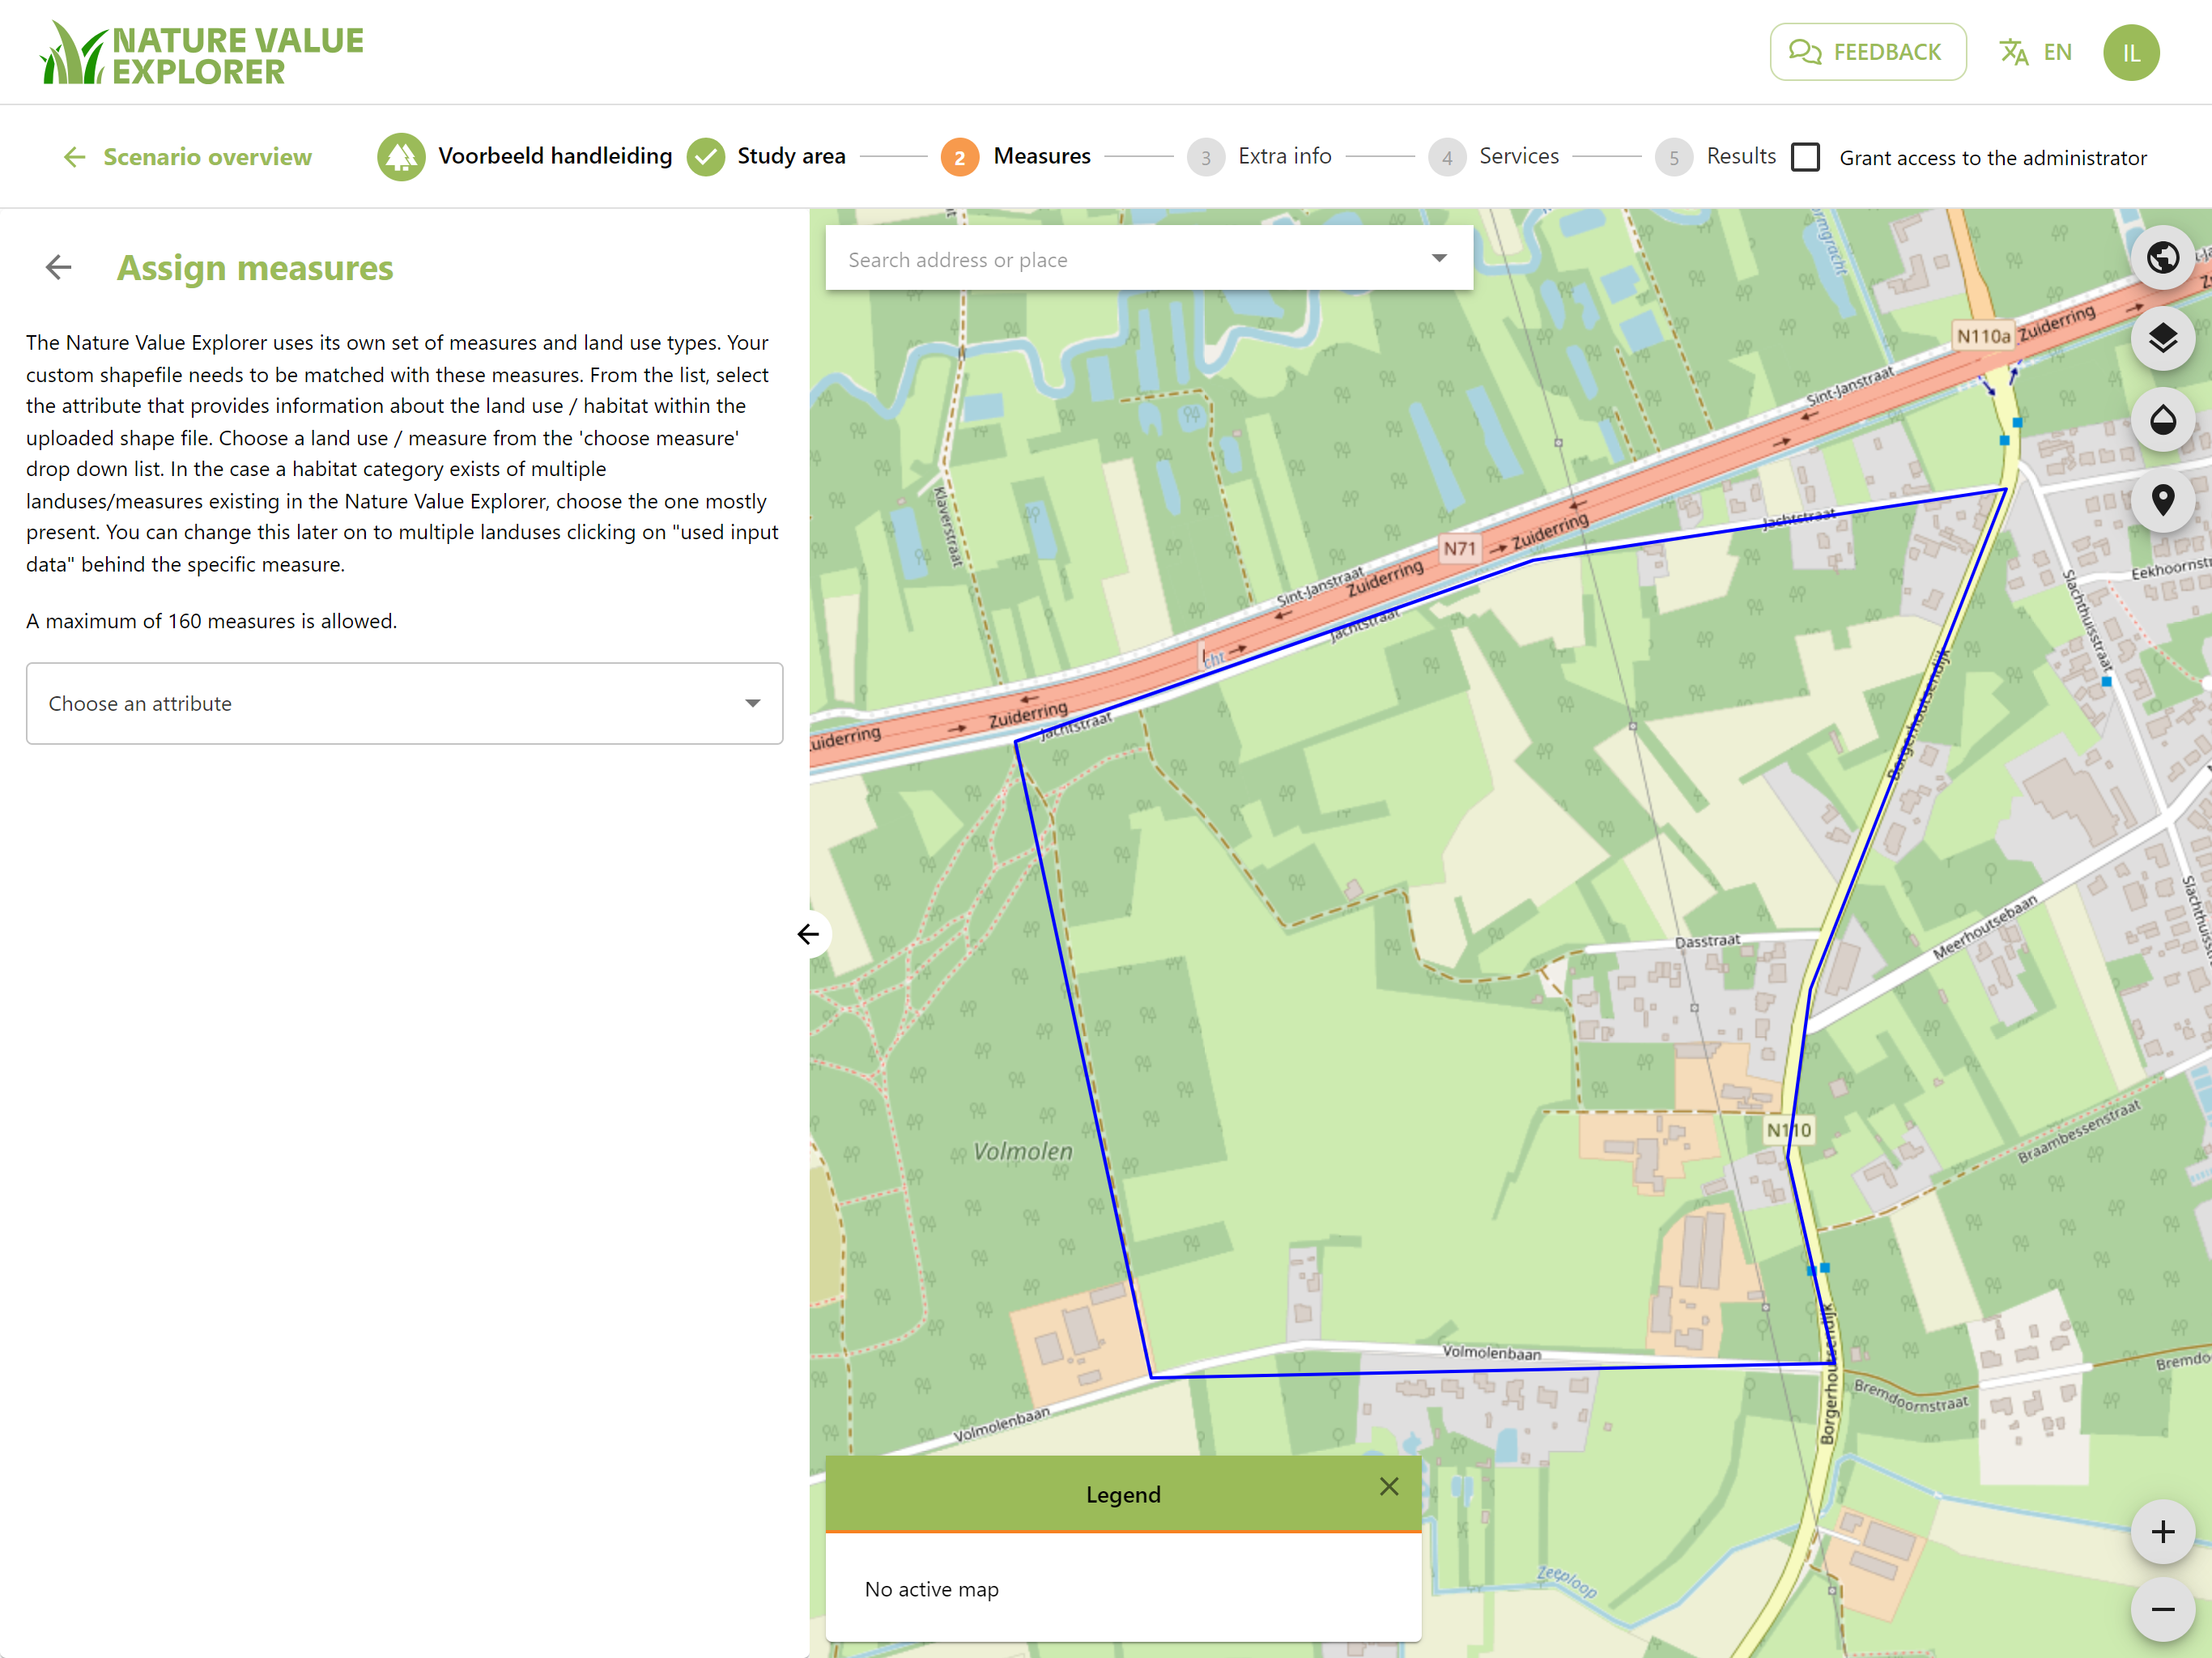
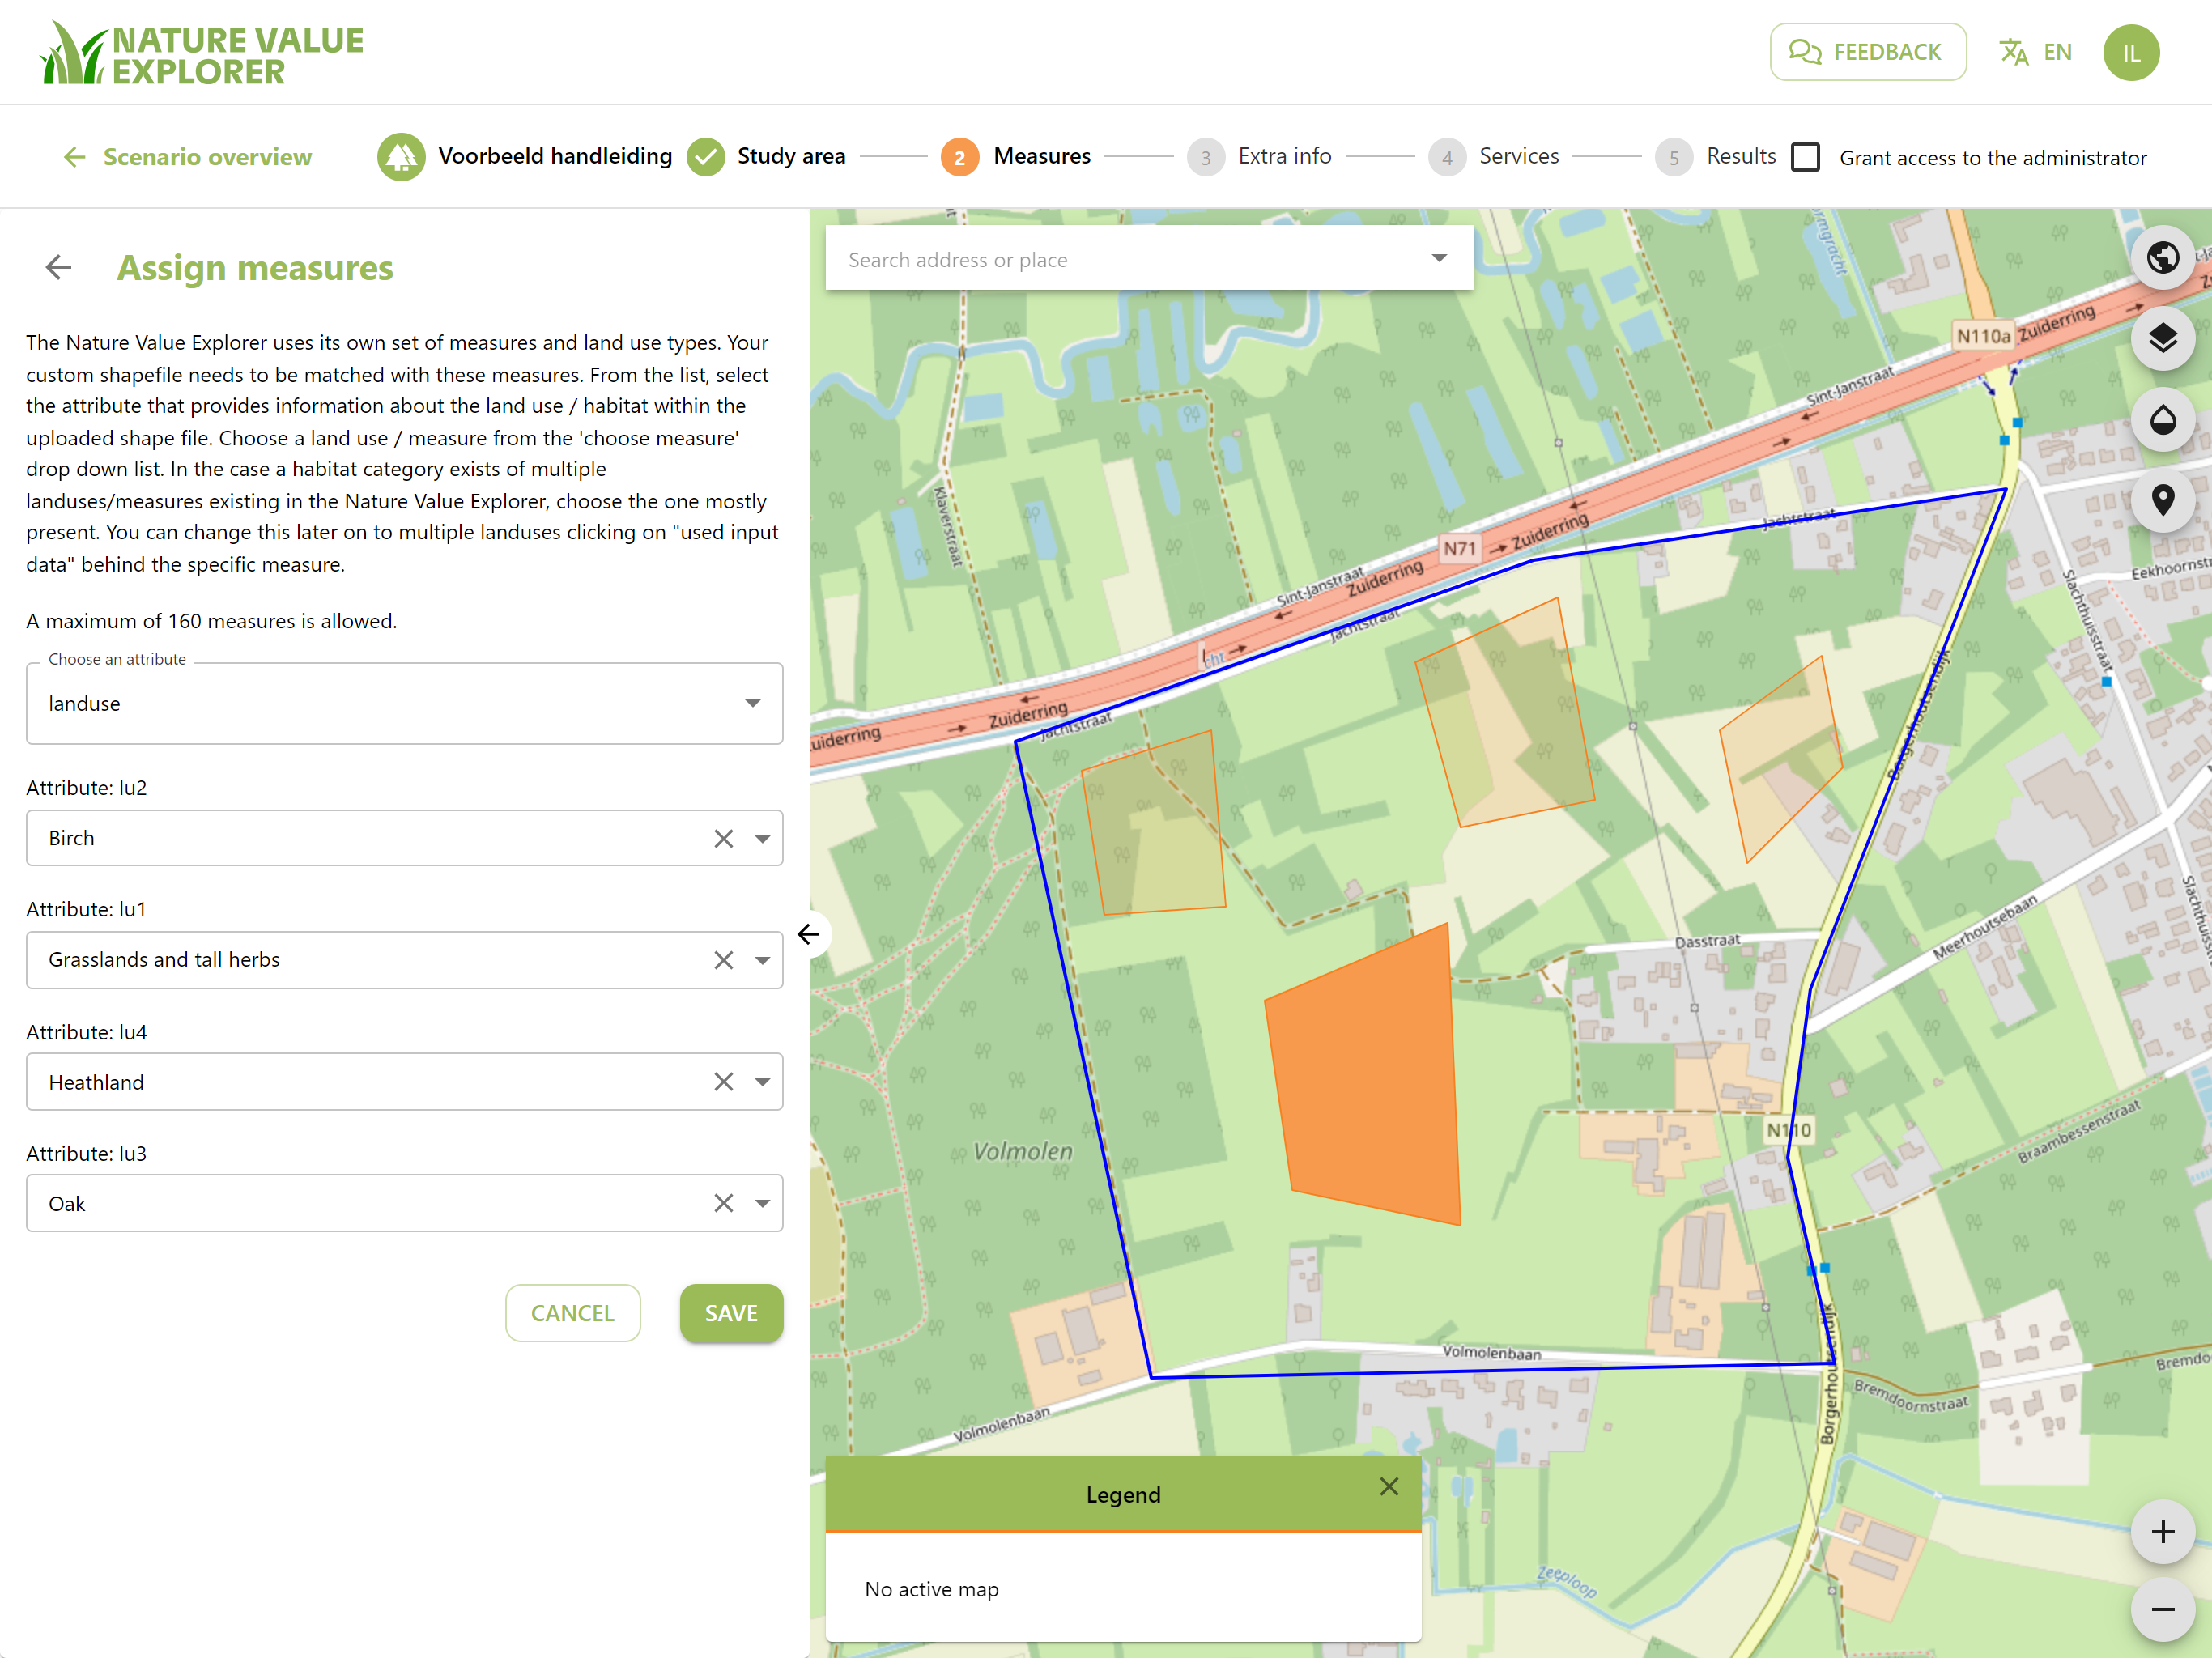
A maximum number of measures are permitted. Click on "Save"
Afterwards you cannot add additional measures via upload. You must upload the entire file with the additional measures again or draw the additional measures by hand.
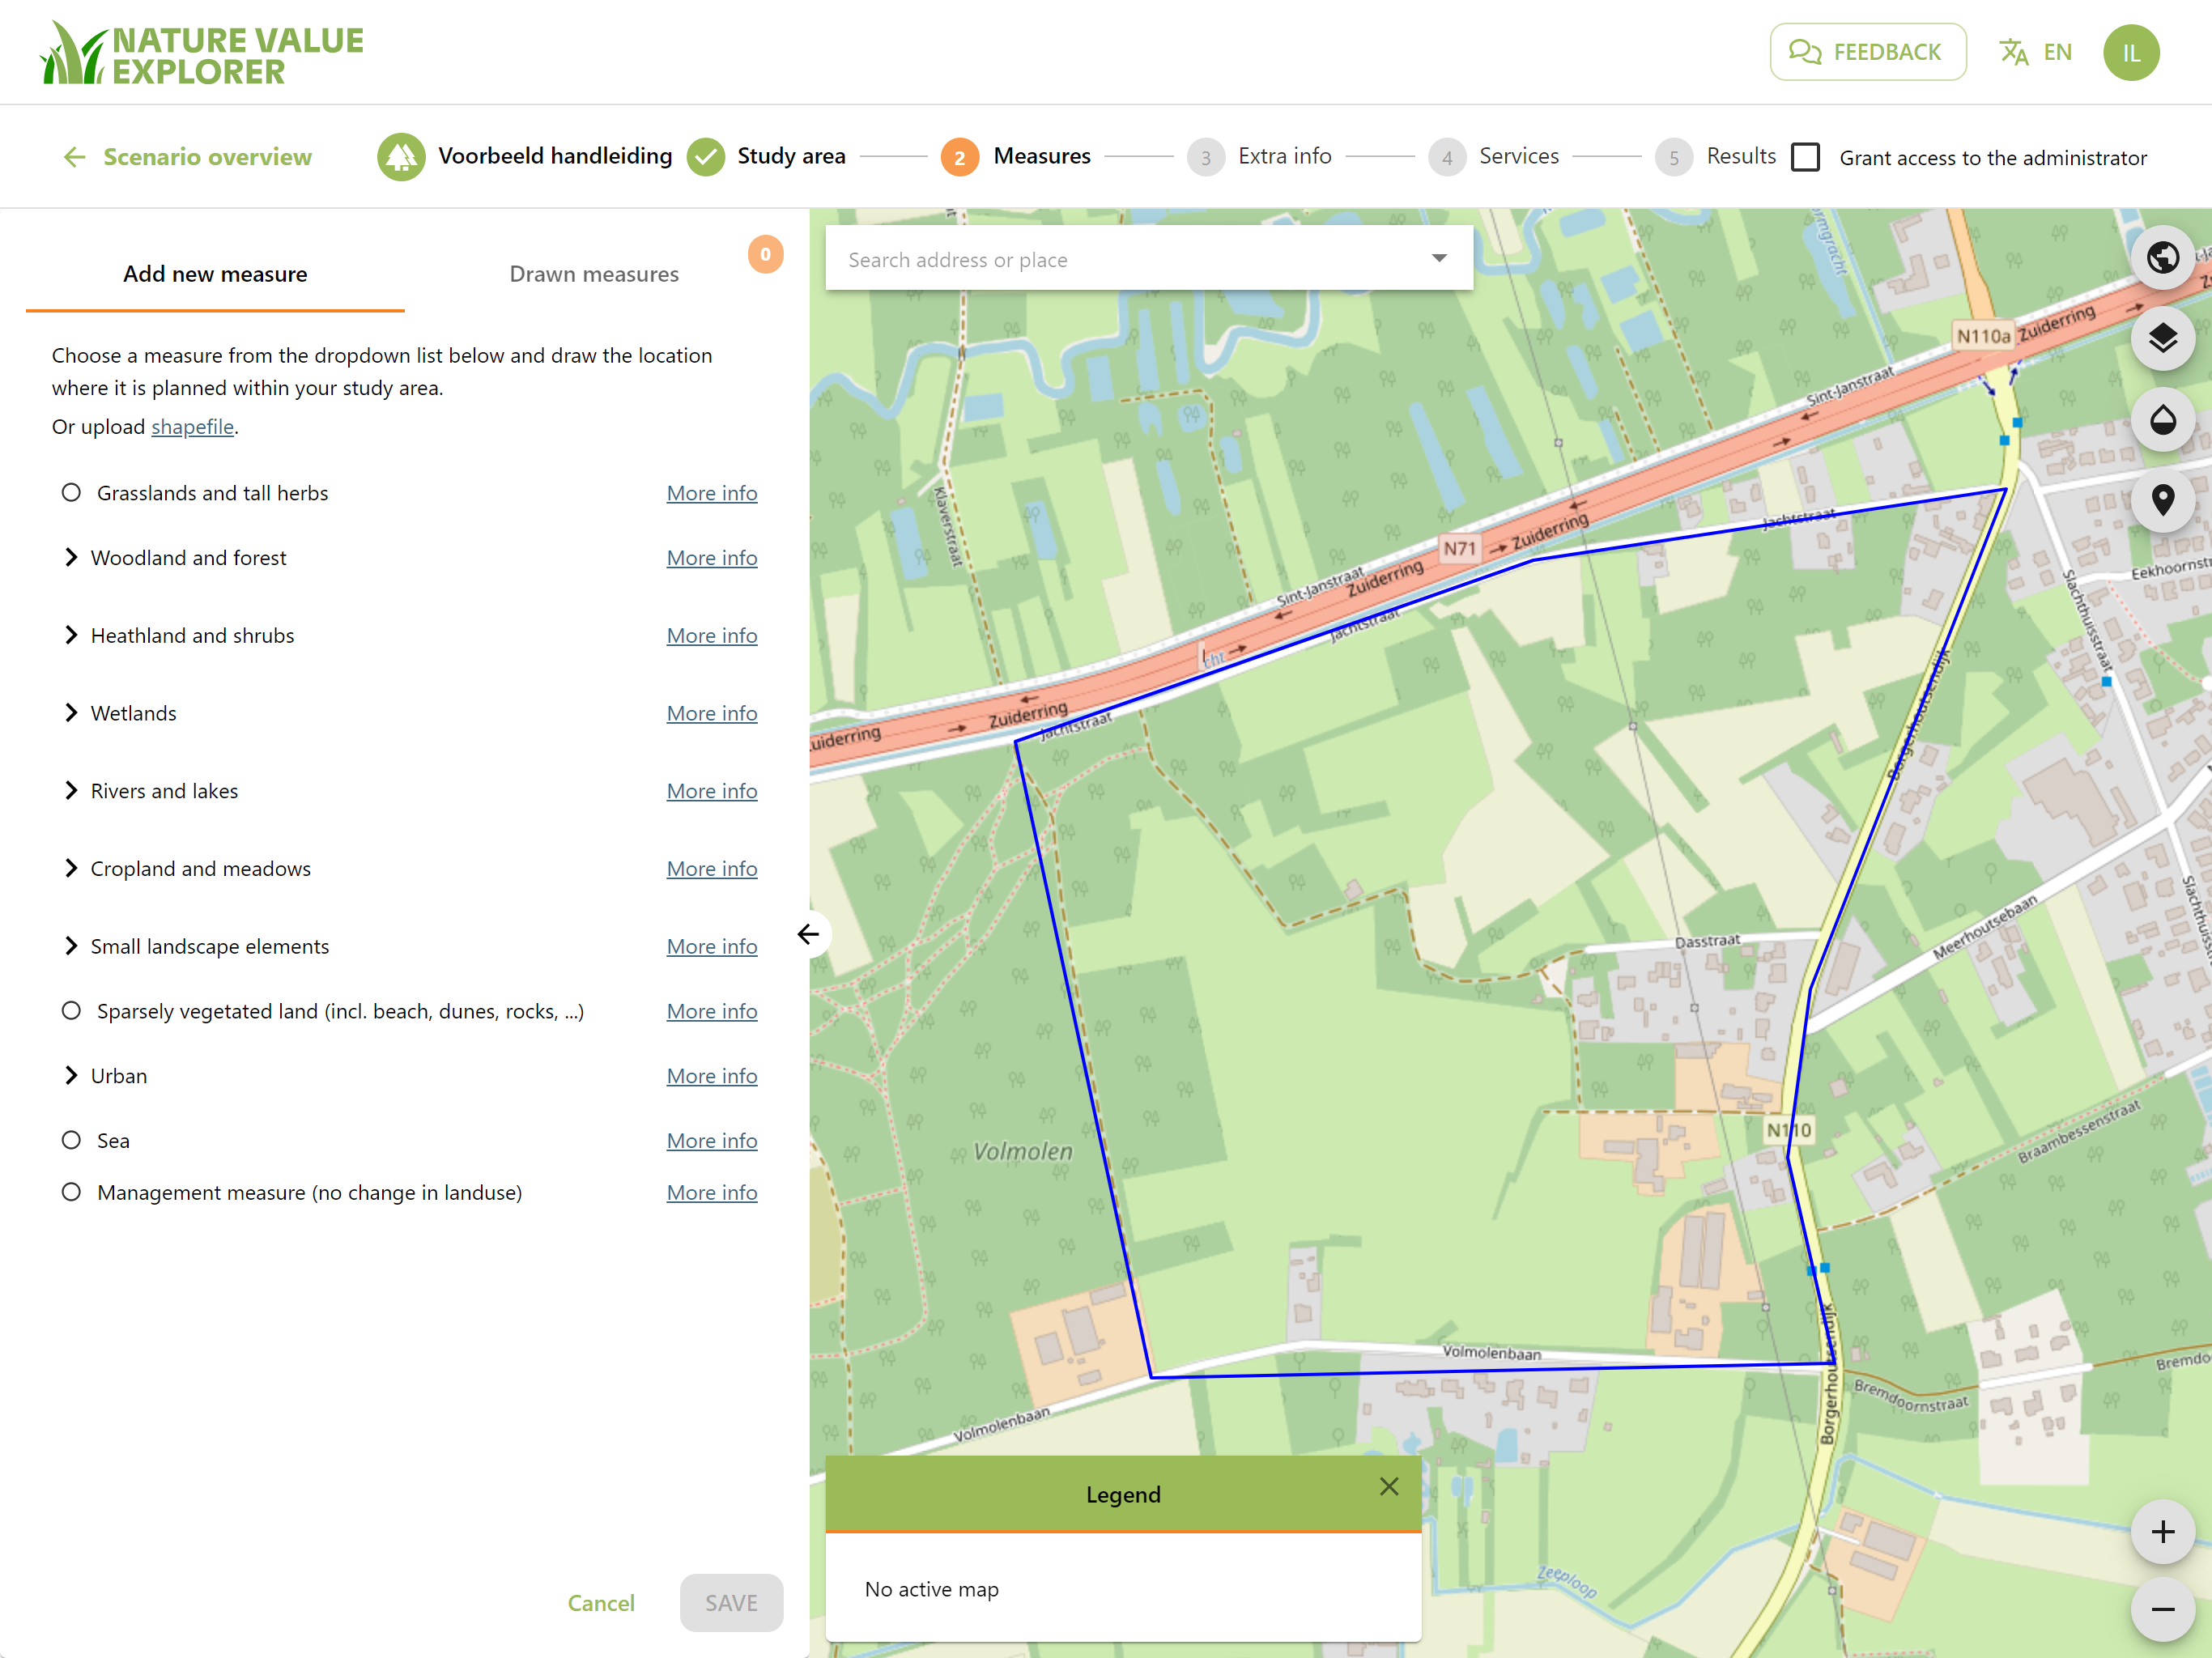
Drawing measures
You can also draw the various measures.
You can open the land use tree by clicking on the desired main category.
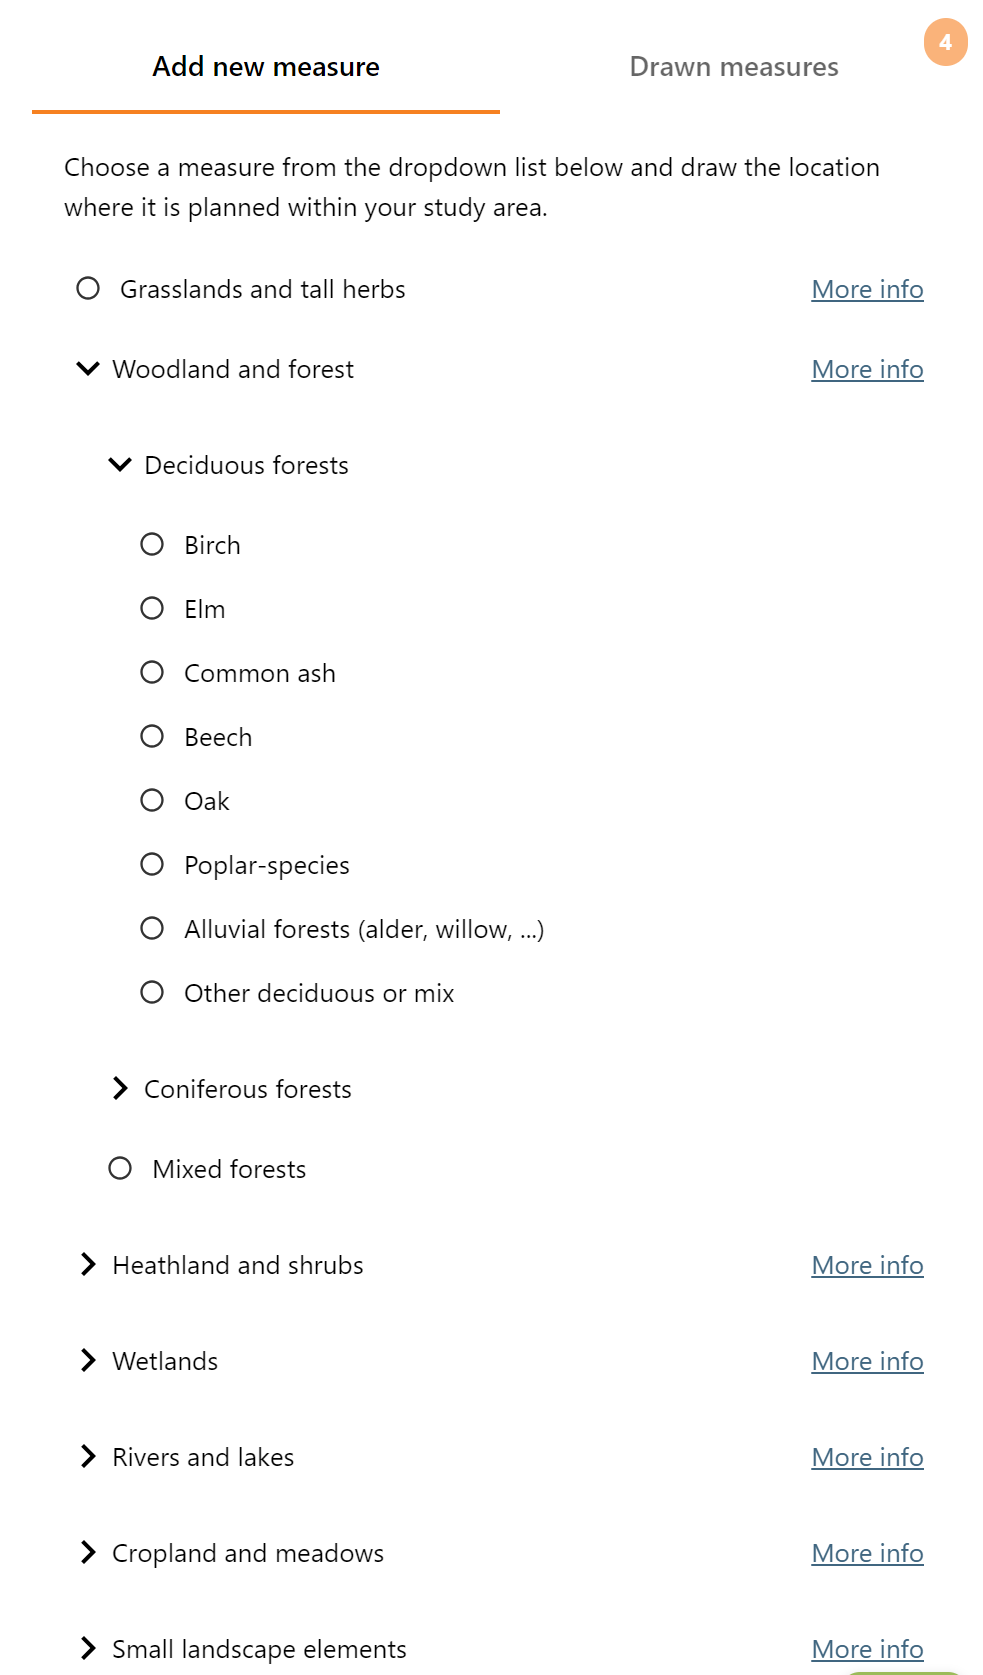
Select a land use by clicking the radio button.
As with the study area, draw the area where the measure is taken. The polygon can be adjusted later. You can draw multiple measures for the selected land use.
You can then change the land use and draw up measures for that new land use.
After the last measure, tap the "Save" button. You can then continue to draw measures by clicking on "Add new measure".
The tool now collects all input data. This may take a while for a large number of measures.
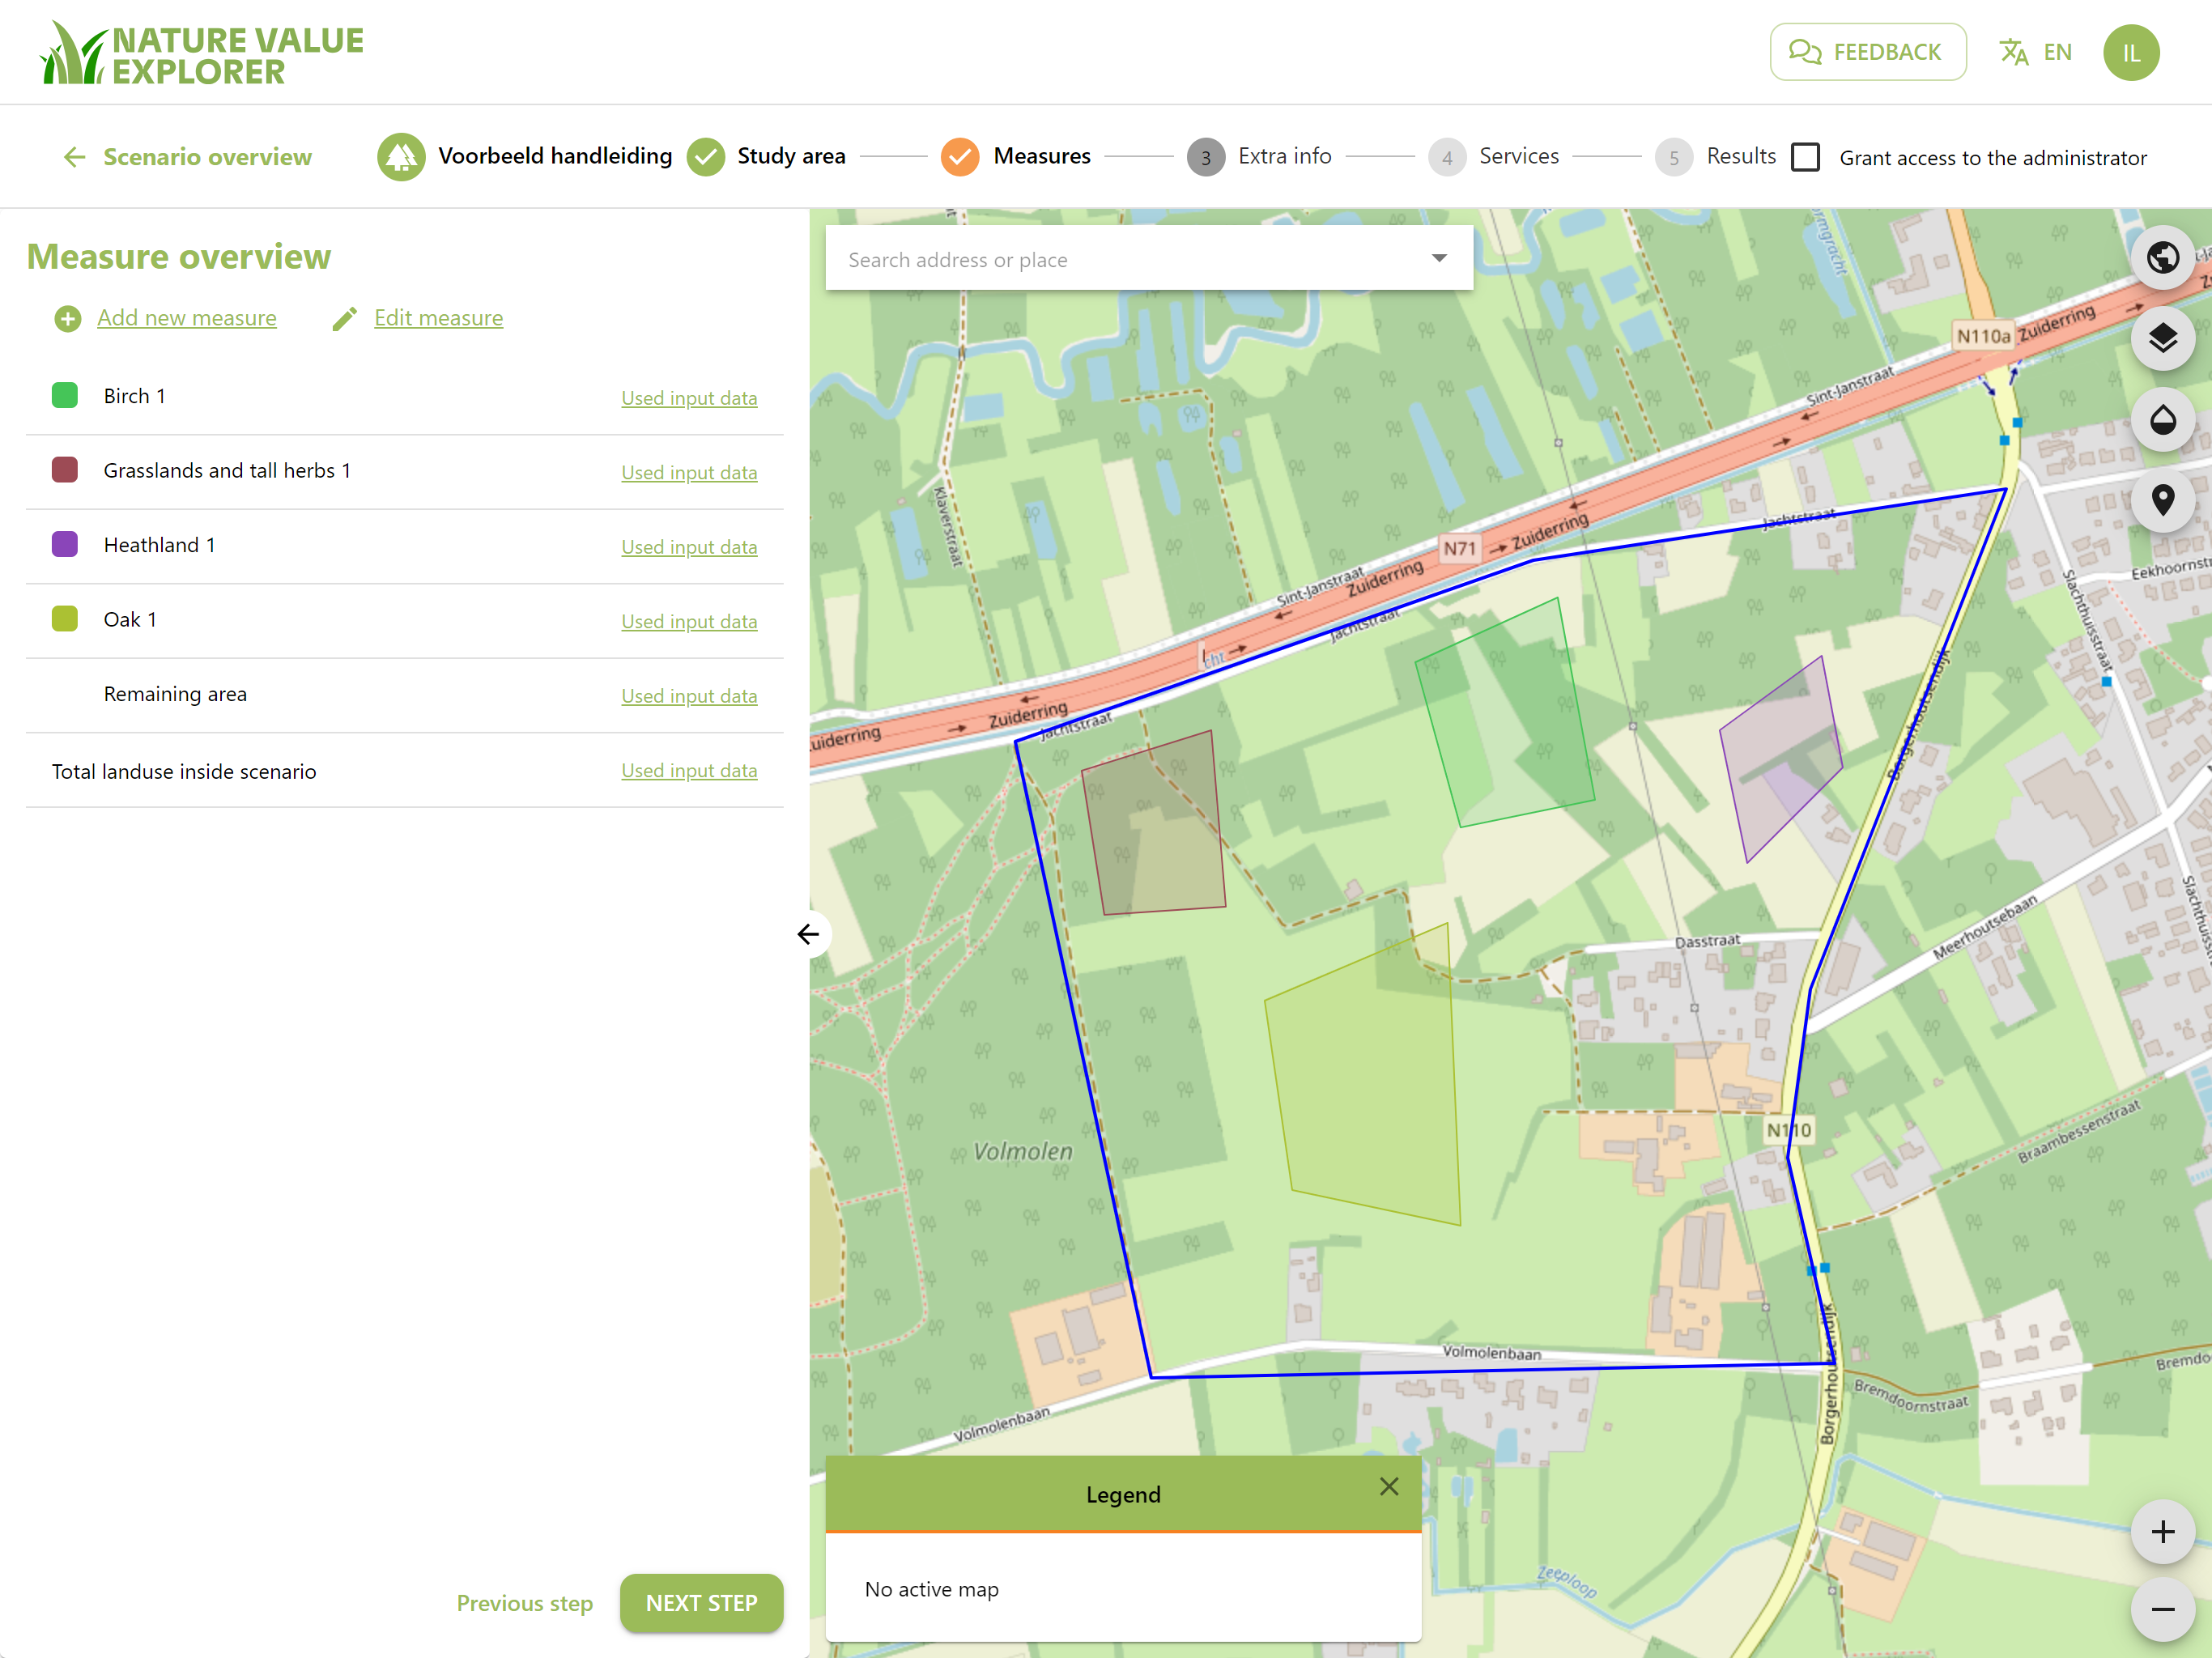
In the completely invented example above, we afforest a number of areas, convert cropland back to heathland and cut down coniferous forests to create a grassland with tall herbs.